 English
 中文简体
中文简体 Español
 عربى
عربى
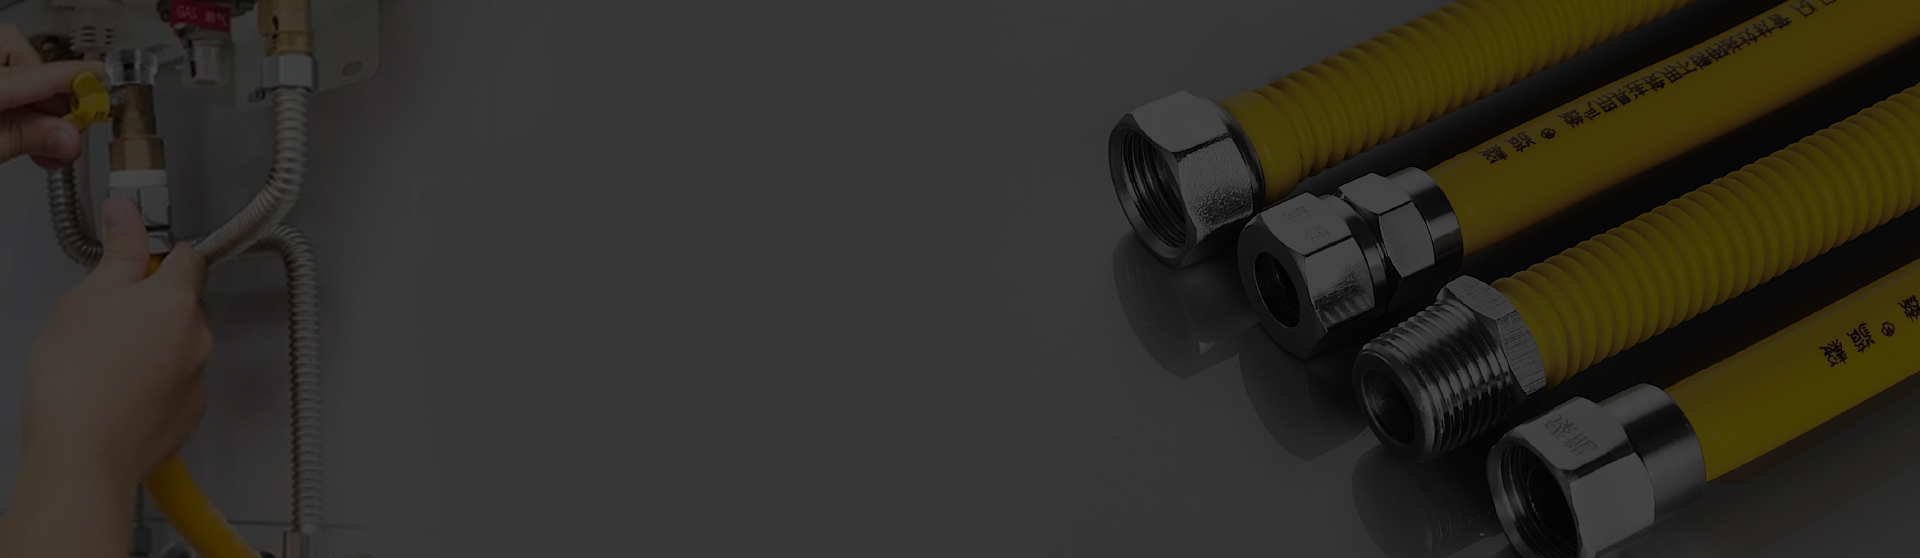

A kitchen remodel is nearly complete. The range is rolled into place, the old rigid pipe is gone, and the new flexible gas line is ready to connect. Ten minutes later there is a smell of gas near the fitting. The installer re-used the wrong sealant, skipped the deburring step, and overtightened the nut until the sealing cone deformed.
Flexible gas line installation is not especially difficult, but it is unforgiving of shortcuts. The whole job comes down to four things: choosing the correct product type, preparing the cut end properly, assembling the fittings to the manufacturer's specification, and proving the result with a pressure test. Installers who respect those four steps rarely get callbacks.
Content
- 1 What "Flexible Gas Line" Actually Means
- 2 Planning and Sizing Before You Pull the Line
- 3 Tools and Materials You Will Need
- 4 Step-by-Step Flexible Gas Line Installation
- 5 Common Mistakes That Produce Leaks
- 6 Pressure Testing and Leak Detection
- 7 Choosing a Supplier Who Can Prove Quality
- 8 Frequently Asked Questions
What "Flexible Gas Line" Actually Means
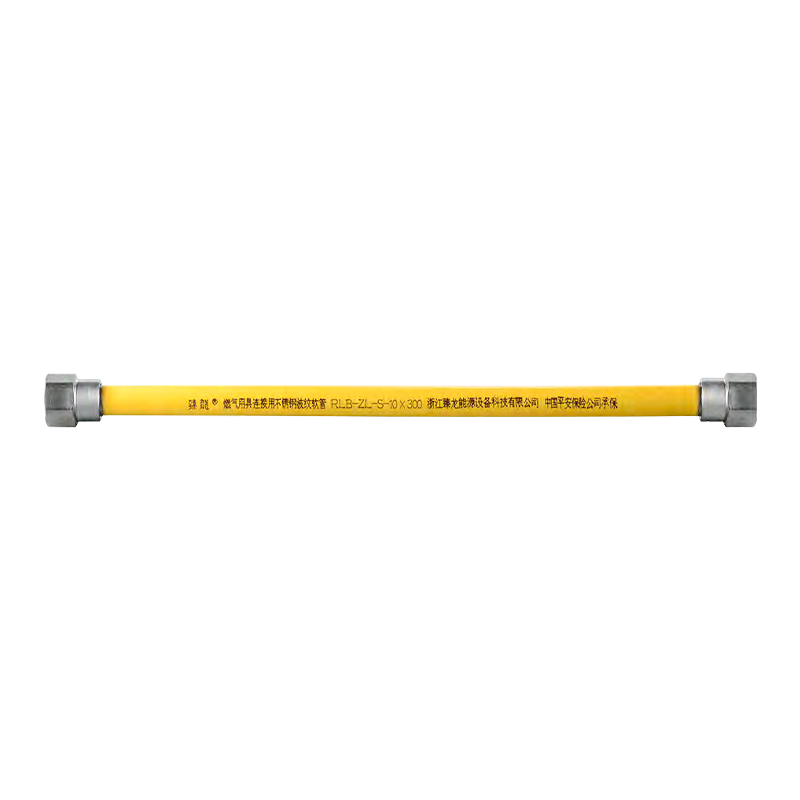
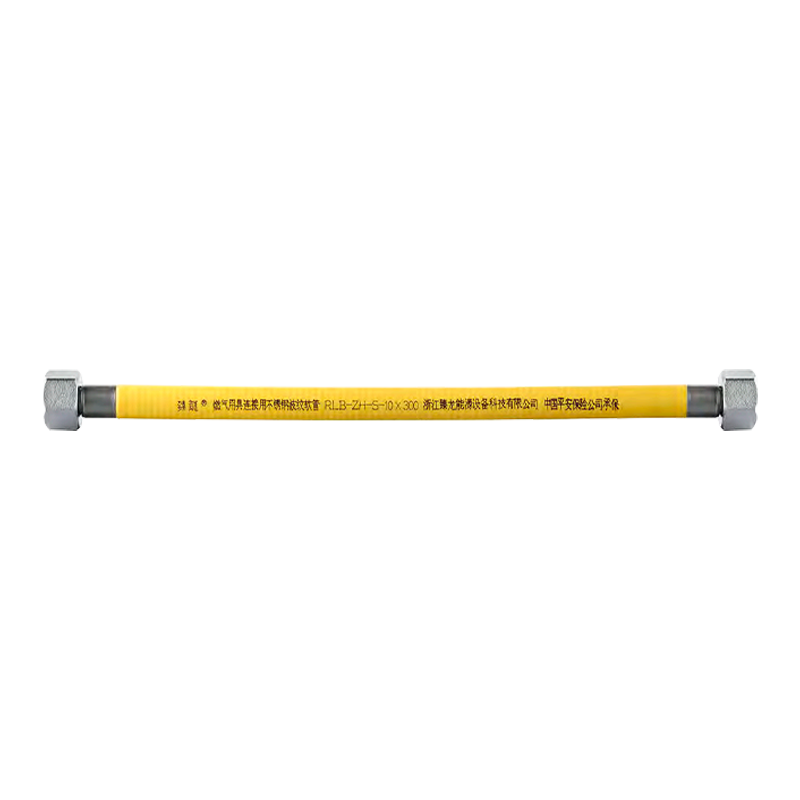
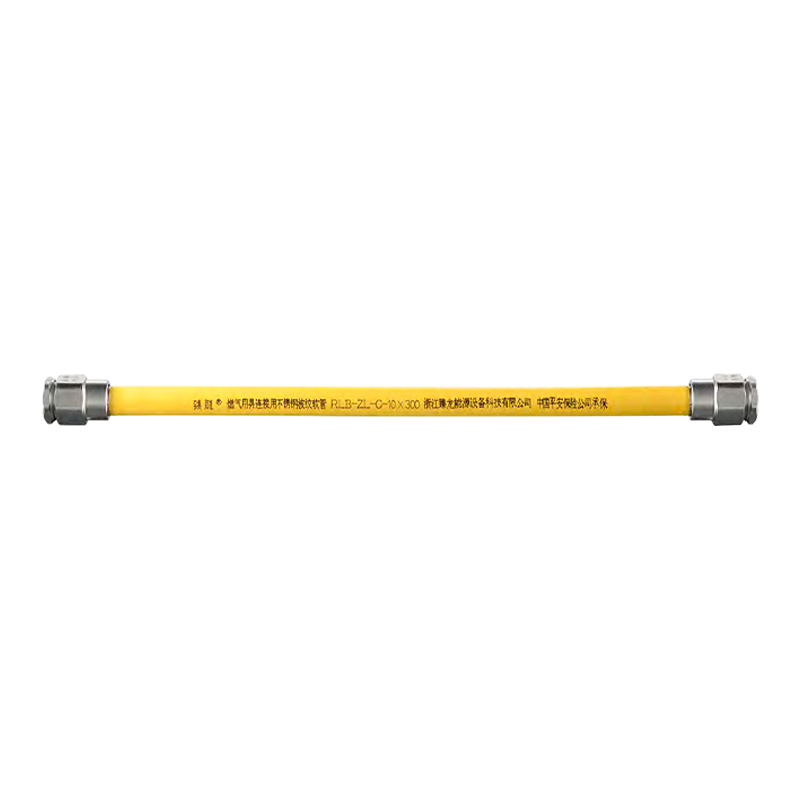
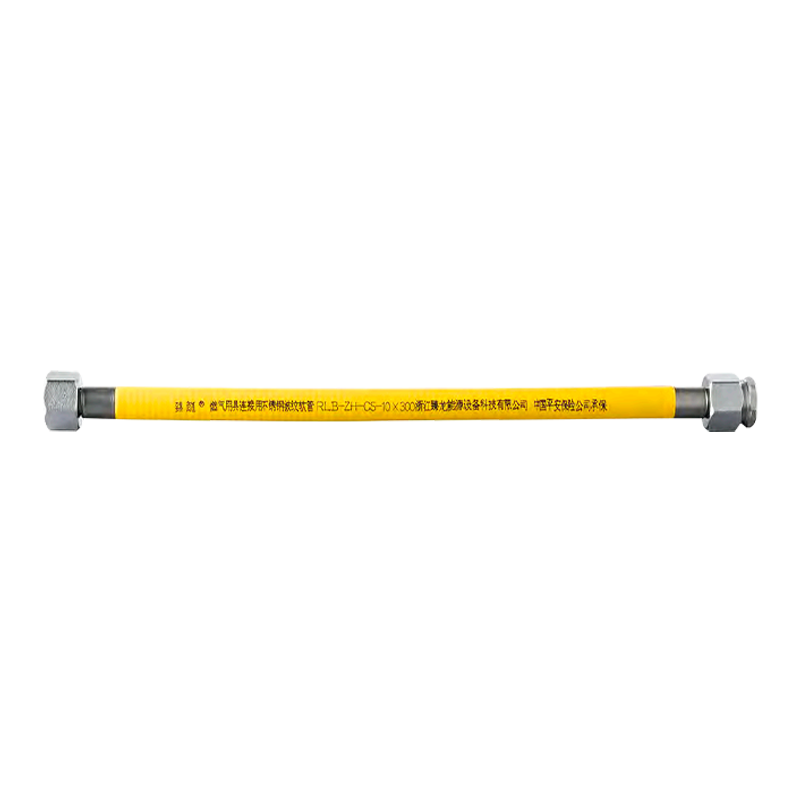
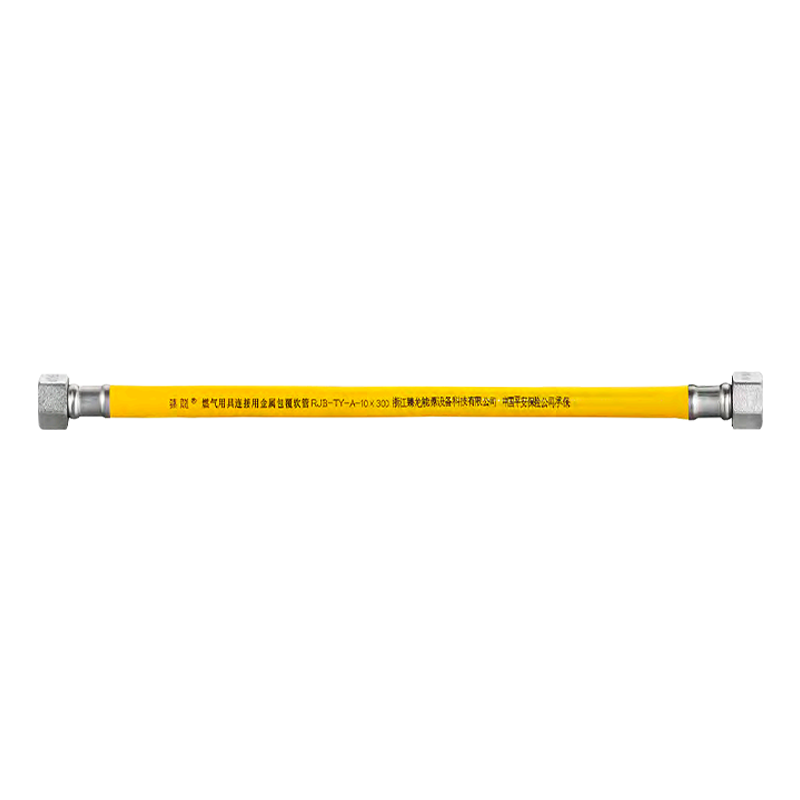
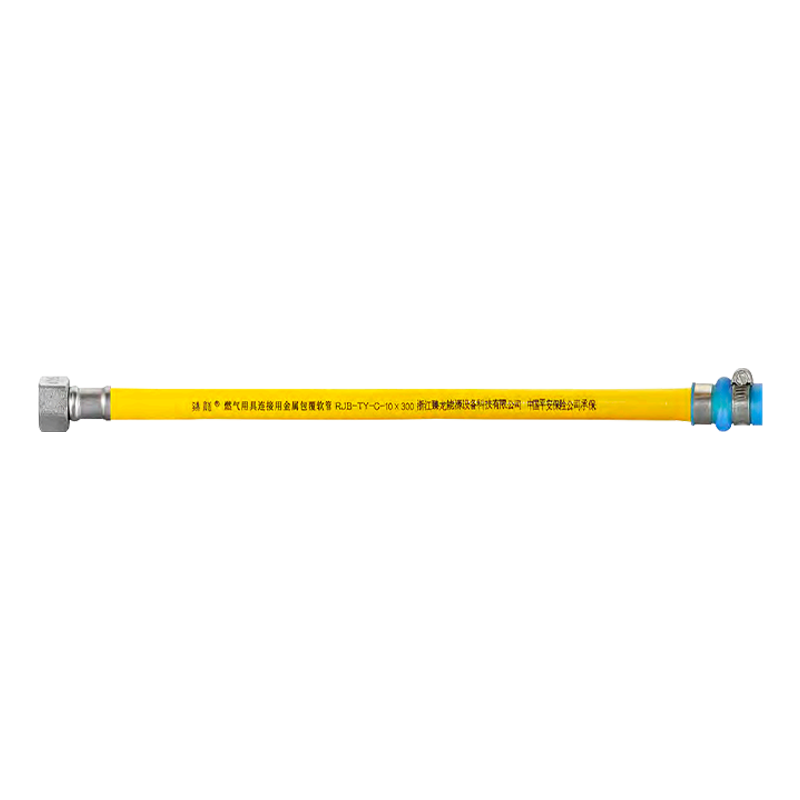
The term covers two different products, and mixing them up is the first installation error you can make. Corrugated stainless steel tubing (CSST) is supplied in long coils and is used as the piping system itself, running through walls, floors, and ceiling voids to distribute gas to multiple points. Appliance connectors, by contrast, are shorter stainless steel corrugated hoses with pre-attached fittings; they connect a fixed gas pipe to a range, water heater, or furnace.
CSST for piping systems
Continuous corrugated stainless tubing with a polymer jacket. Cut to length on site and terminated with manufacturer-certified fittings.
Appliance connectors
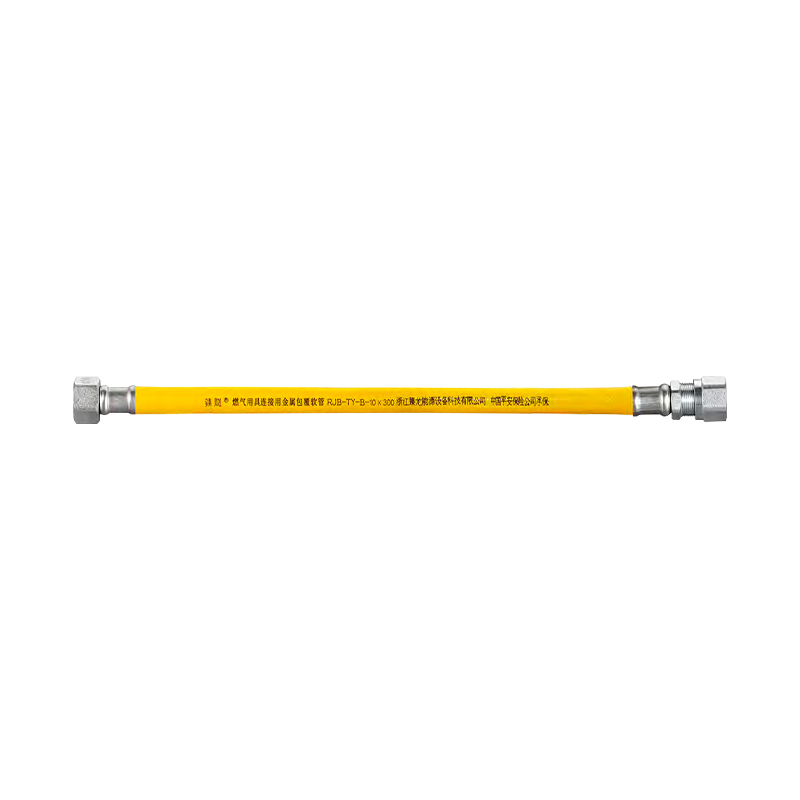
Factory-assembled lengths, usually 0.3 to 2 m, with nuts or quick-connect ends. Replace, do not re-cut to size.
Both types use the same logic: a 304 stainless steel corrugated core absorbs vibration and thermal movement, while an outer PVC jacket resists corrosion and abrasion. Because the metal core is corrugated, it flexes without kinking the way smooth tubing does. That is why the corrugated design reduces leak risk and why pay attention to it during installation.
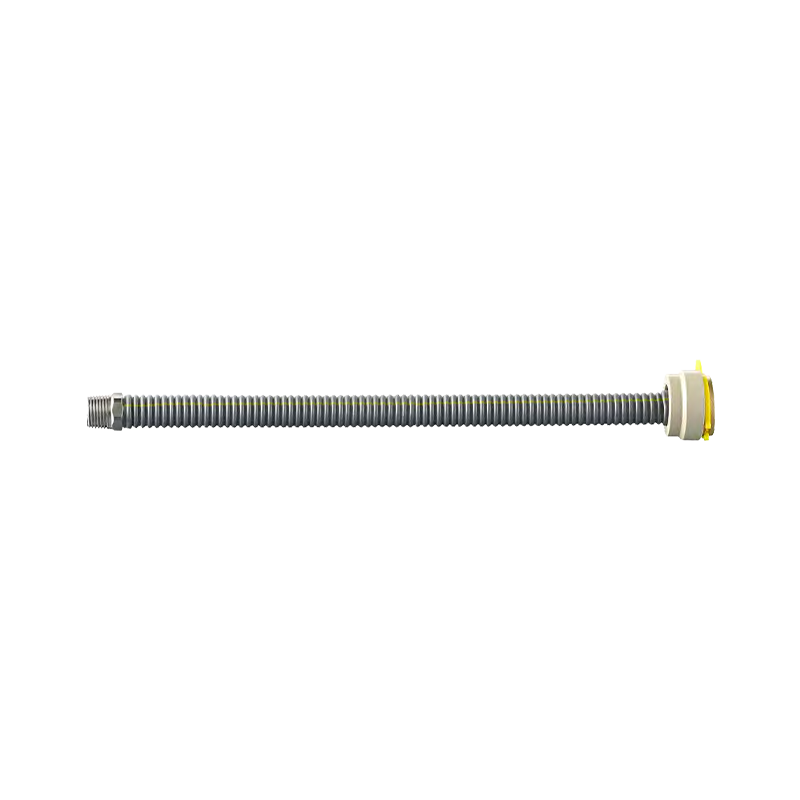
The diagram shows the layered structure of a flexible gas line in cutaway view. The flame-retardant PVC jacket protects the 304 stainless steel corrugated core, and the fitting nut with threaded end connects the line to an appliance or to the gas piping.
For appliance hook-ups, check that the connector model is rated for the gas type (natural gas or LPG), for the appliance energy input, and for the temperature of the installation zone.
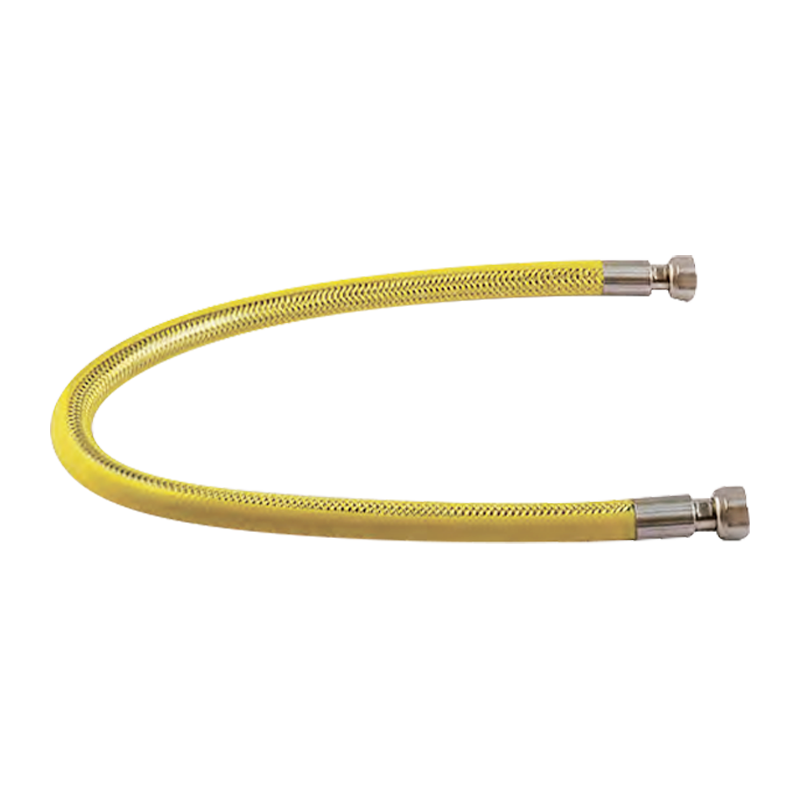
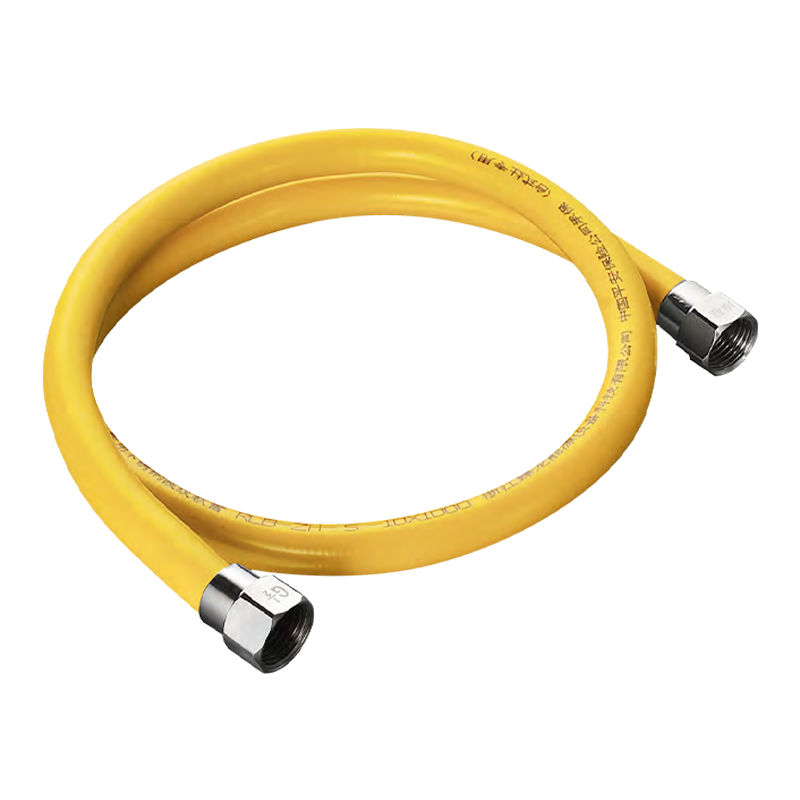 Stainless Steel Corrugated Gas Hose with Reinforced Wire Mesh ZLR-04This hose features a stainless steel wire mesh layer between the PVC coating and corrugated body, enhancing pressure resistance and anti-burst performance for secure gas appliance connections.View Product →
Planning and Sizing Before You Pull the Line
Start with the load. Add the BTU/hr or kW ratings of every appliance on the circuit, select the diameter from the manufacturer's capacity table, and keep the total run within the distance that table allows for that diameter. If the table says the run is too long, move up one size instead of hoping the appliance will be forgiving.
Plan the route with three rules in mind. First, keep the line clear of sharp metal edges; where it passes through studs or joists, use a protective bushing. Second, respect the minimum bend radius, because pulling the pipe into a tight kink narrows the bore and creates a stress point. Third, support the line every 0.6 to 1 m (about 2 to 3 ft) with clips designed for CSST.
Practical rule
If the appliance is at the far end of the house and you are already at the maximum length for a 1/2 inch line, step up to 3/4 inch before you start the run. Field fixes are much more expensive than a larger diameter ordered up front.
Tools and Materials You Will Need
Most flexible gas line failures trace back to a missing tool, not a missing skill. The table below lists the items that should be on the tool bag before the gas valve is closed.
| Item | Role in the installation | Typical mistake if skipped |
|---|---|---|
| CSST-rated tubing cutter | Cuts the corrugated pipe square without crushing the profile | Ragged cut, cracked corrugation, leakage |
| Deburring tool | Removes burrs from the inner and outer edge after cutting | Burrs damage the O-ring or sealing cone |
| Insertion depth gauge / inspection gauge | Confirms the pipe is seated to the correct depth before tightening | Under-inserted pipe seals initially, leaks later |
| Gas-rated thread sealant or joint compound | Seals tapered pipe threads on adapters and manifolds | Plumber's paste or tape on flare surfaces causes leaks |
| Two adjustable wrenches | Holds the fitting body while tightening the nut | Twisting the pipe and breaking the seal |
| Manometer or pressure gauge | Runs the system pressure test after installation | No test means undetected leaking joints |
| Bubble leak detector solution | Checks each joint individually for small leaks | Using soap, flames, or nothing at all |
Threaded adapters between the flexible line and the gas piping use fittings such as the double outer thread connector when a straight transition between two male threads is needed.
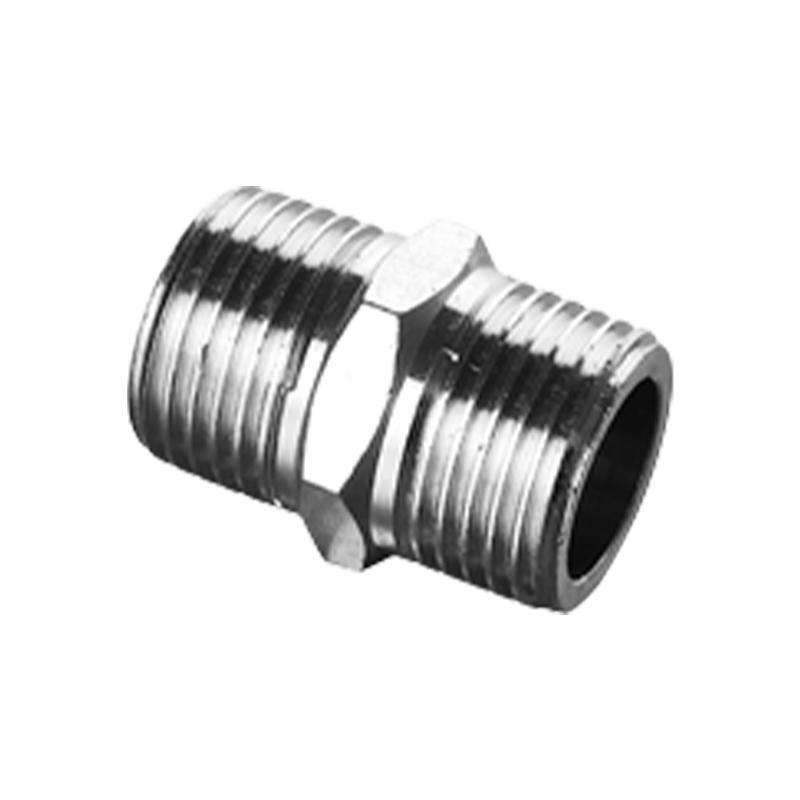 Double Outer Thread Connector for Gas Piping SystemsA threaded adapter that connects two male threads with a tight seal, built from corrosion-resistant materials to handle high pressure and temperature variations in gas lines.View Product →
Step-by-Step Flexible Gas Line Installation
The sequence below follows the order used by experienced installers on residential gas piping work. Read the entire procedure once before touching the tools.
- Shut off the gas and verify the system is depressurized. Close the main valve and confirm the line you are working on shows zero pressure on a gauge before doing anything else.
- Lay out the route and fit the supports. Install protective bushings in every hole you will pull the pipe through, and position the support clips at the planned spacing.
- Cut the flexible gas line. Use a cutter rated for CSST. A hacksaw leaves loose swarf inside the tubing and a deformed end.
- Deburr the cut end. Remove the inside and outside burr with the deburring tool, then wipe the end clean. Check that no corrugation was crushed.
- Assemble the fitting. Slide the nut and the sealing cone or sleeve over the pipe in the correct order, push the pipe into the fitting body until it bottoms out against the internal stop, and confirm the depth with the inspection gauge.
- Tighten the nut to specification. Use two wrenches: one to hold the fitting body, one to turn the nut. Tighten until the visual window on the fitting is satisfied. This is not the place for maximum effort.
- Connect the downstream end. Attach the other end to the appliance or to the distribution manifold, using the same insertion and tightening procedure.
- Pressure test the entire branch. Pressurize the system with gas or air, check every joint with bubble solution, and hold the test pressure for the time required by local codes.
- Bond and ground CSST systems. Follow the grounding and bonding requirements of the local electrical code and the tubing manufacturer. Unbonded CSST can be punctured by a lightning-adjacent surge.
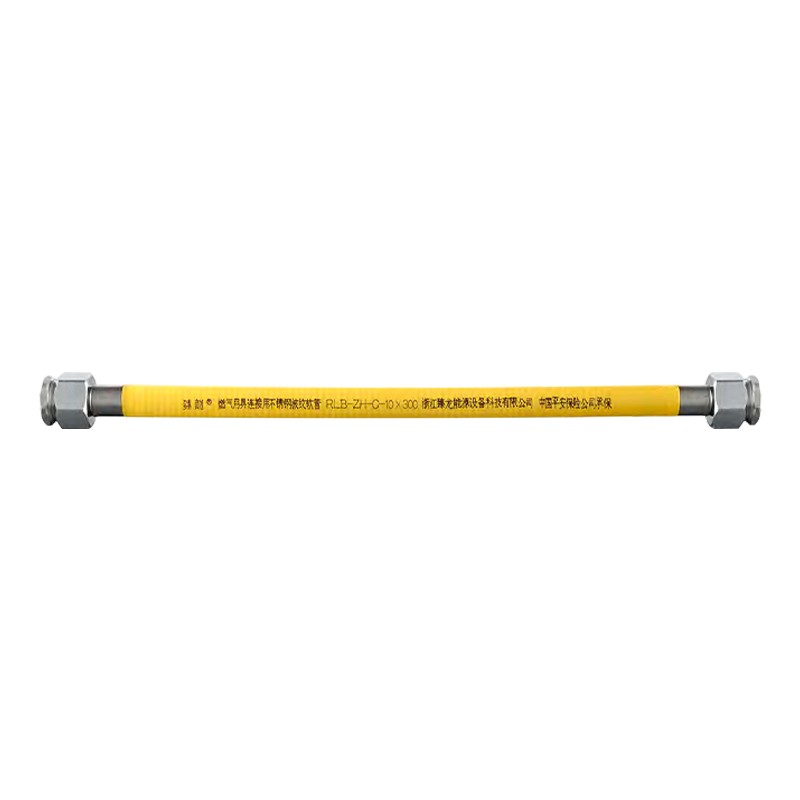
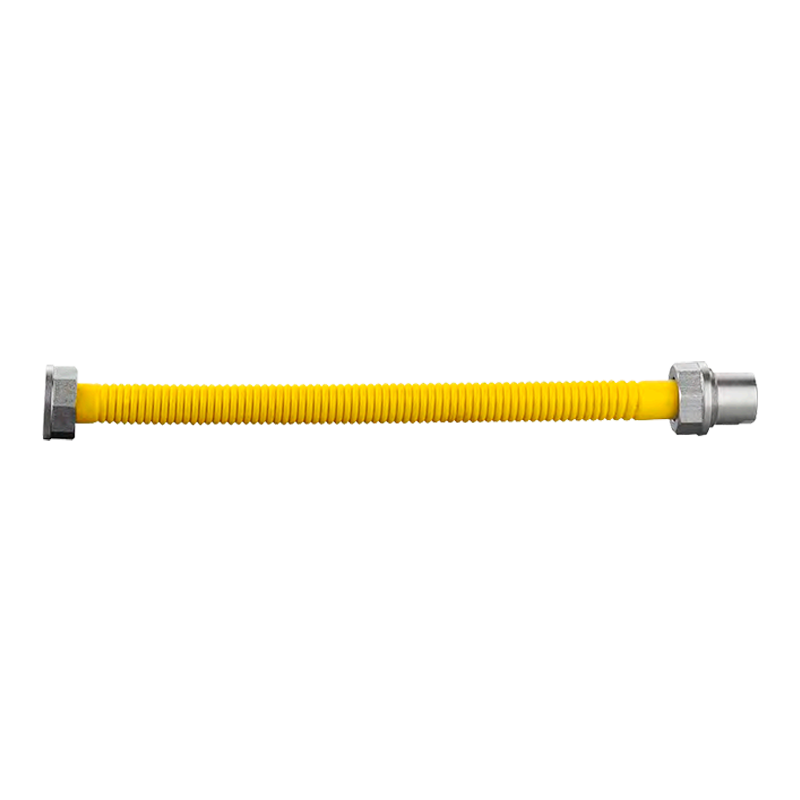
For piping runs inside the building, a yellow PVC-coated stainless steel corrugated gas pipe is the conventional choice because the jacket color clearly identifies the line as a gas service during later renovations.
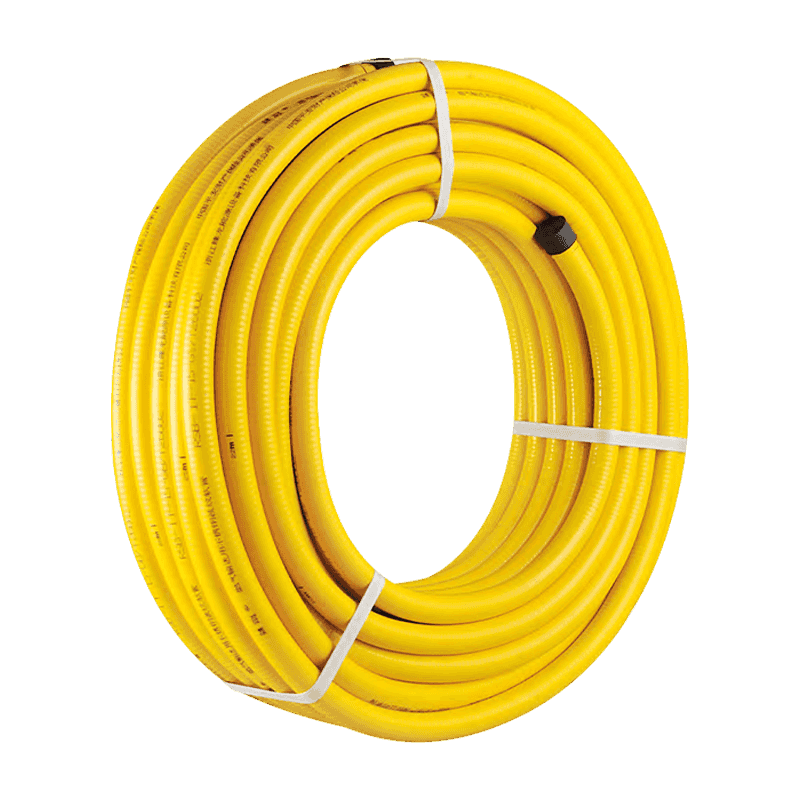 Yellow PVC-Coated Stainless Steel Corrugated Gas Hose ZLR-01This hose's yellow PVC jacket identifies it as gas service and protects against chemicals and UV, while the 304 stainless steel bellows provide flexibility and strength for indoor runs.View Product →
Common Mistakes That Produce Leaks
Most field failures in flexible gas line installation show up in the same handful of places. Check your work against this list before you call the pressure test.
Pressure Testing and Leak Detection
Conclusion first: a flexible gas line installation is complete only when every joint has been checked with leak detector solution and the whole branch has held a pressure test. Both steps take a few minutes. Skipping either one converts a small question into a large insurance claim.
For the joint test, apply the bubble solution to the fitting nut, the adapter threads, and the valve connections. Bubbles indicate escaping gas. No bubbles after the foam has been in contact for thirty seconds is the ordinary pass standard.
For the system test, pressurize the branch with air or inert gas to the pressure required by local code. Common practice is 1.5 times the operating pressure, held for at least fifteen minutes, while you watch the gauge for a drop. If the line holds, the installation is ready for the appliance to be connected and for the appliance burner valves to be leak-checked in turn.
Manufacturers apply the same testing logic in the factory. A mature production line does not ship a hose without a flow-tightness check. That is why the testing equipment used by the supplier matters as much as the price per meter.
Choosing a Supplier Who Can Prove Quality
The best installation technique in the world cannot compensate for a flexible gas line with thin walls, a brittle jacket, or fittings that were never checked. Before buying, verify three things about the manufacturer.
- Material and production control. The stainless steel grade should be confirmed by material analysis, not assumed. Fittings and hose should be checked with dedicated test equipment, not sampled occasionally.
- Certification for the market you work in. Look for a pressure-pipeline manufacturing license, CE certification or the local equivalent, and a recognized quality management system such as ISO9000:2008.
- Range and consistency. A complete set of gas pipe, appliance connectors, wall boxes, valves, and fittings from one source reduces compatibility problems on site.
An example of this profile is Zhejiang Zhenlong Energy Equipment Technology Co., Ltd., located in Yuyao, Ningbo, Zhejiang. The company develops, manufactures, and processes energy equipment covering metal hoses, natural gas pipelines, plumbing fittings, sanitary ware, valves, plastic products, and hardware. It combines manufacturing with trading and serves customers at home and abroad. Its plant covers 40 acres, with 30,000 square meters of factory buildings, 30 welding and forming production lines, and 2 continuous solid-melting hydrogen furnace production lines. Material is verified with a metal material analysis direct-reading spectrometer, and finished products pass through flow-tightness testing equipment before packing. The company implements the ISO9000:2008 quality management system, holds the People's Republic of China Special Equipment Manufacturing License (Pressure Pipeline), has obtained the EU CE certification national testing center report, and is a member of the China Urban Gas Association. A strong R&D, design, and production team supports clients with safe pipe fittings and complete pre-sales and after-sales service. In short, supplier selection and installation procedure carry equal weight in the final safety of the system.
Frequently Asked Questions
Q1. Do I need a licensed professional to install a flexible gas line?
In most jurisdictions, gas piping work must be done by a licensed gas fitter and inspected by the local authority. DIY installation is legal in some regions for owner-occupied homes, but always check your local code before starting.
Q2. What is the difference between CSST and a gas appliance connector?
CSST is sold in coils and acts as the gas piping system for distribution runs. An appliance connector is a pre-made, shorter corrugated hose with factory-fitted ends, used for the final connection to a range, water heater, or furnace.
Q3. Can a flexible gas line be installed inside walls or under floors?
Yes, CSST is designed for concealed runs, provided it is protected where it passes through framing and supported at the specified spacing. Appliance connectors, by contrast, are generally intended for visible, accessible locations.
Q4. How tight should the fitting nut be on a flexible gas line?
Follow the fitting manufacturer's specification. Most CSST fittings have a visual window or torque range. The nut is tightened with two wrenches until the indicator shows full engagement. If in doubt, use a torque wrench set to the stated value.