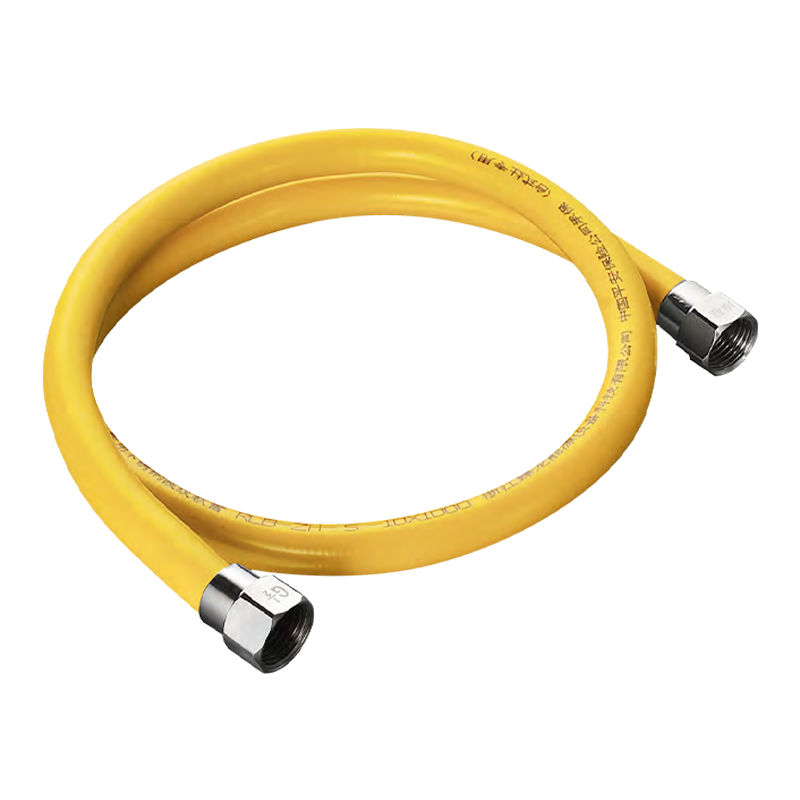
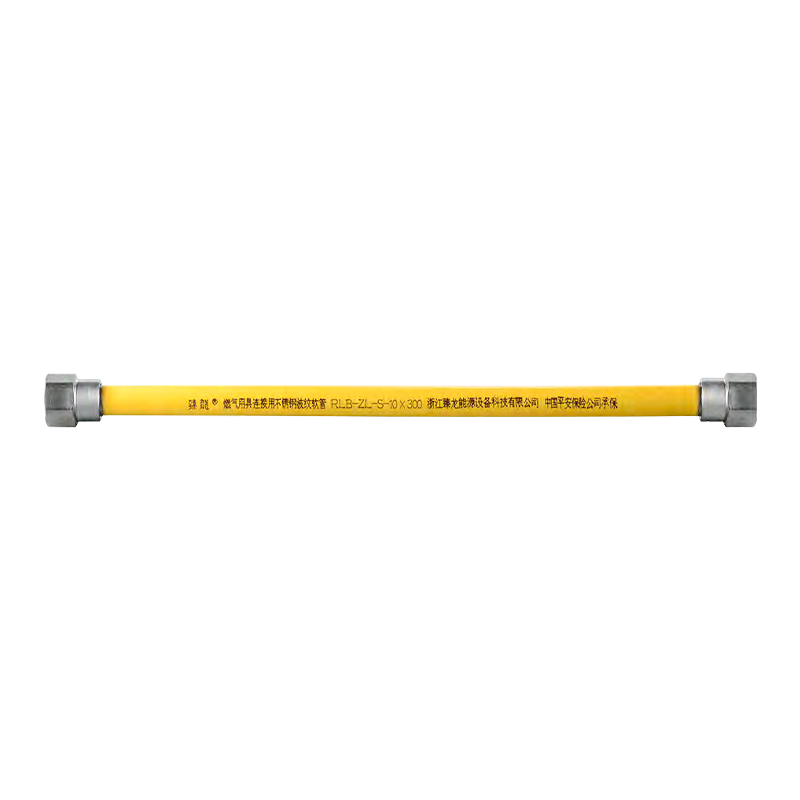
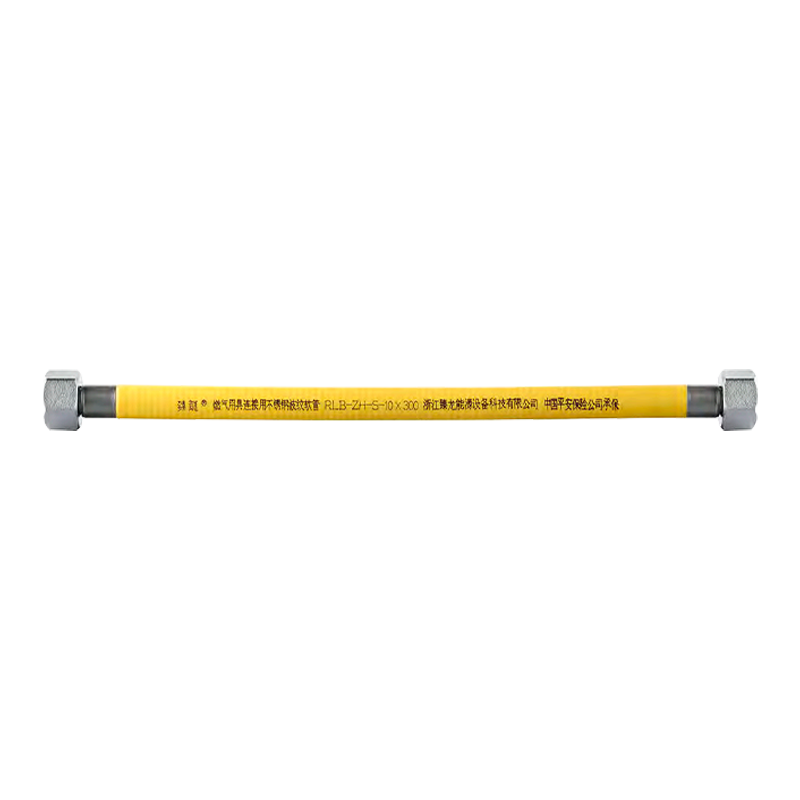
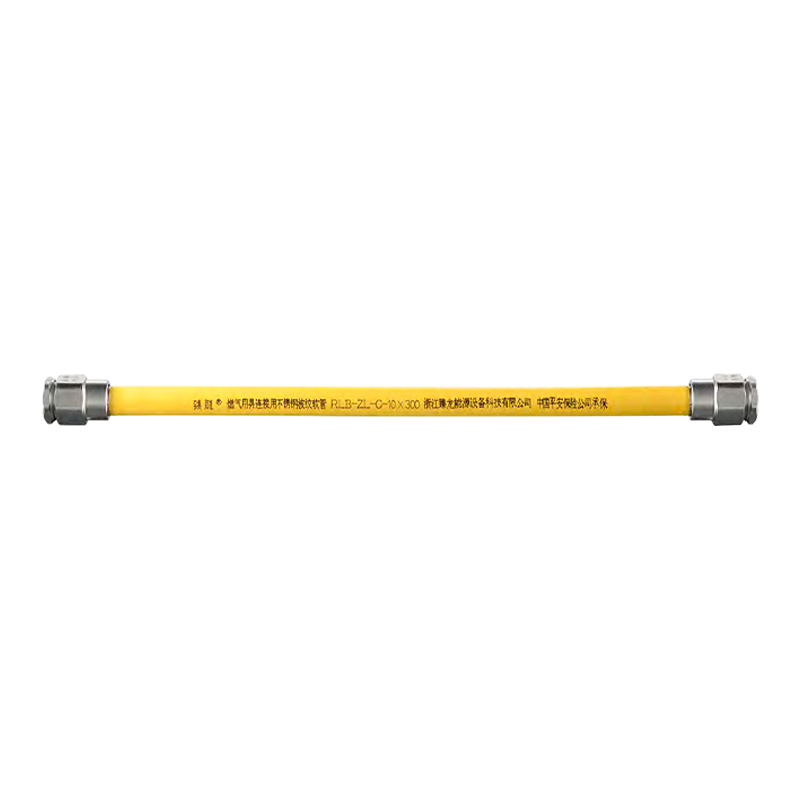
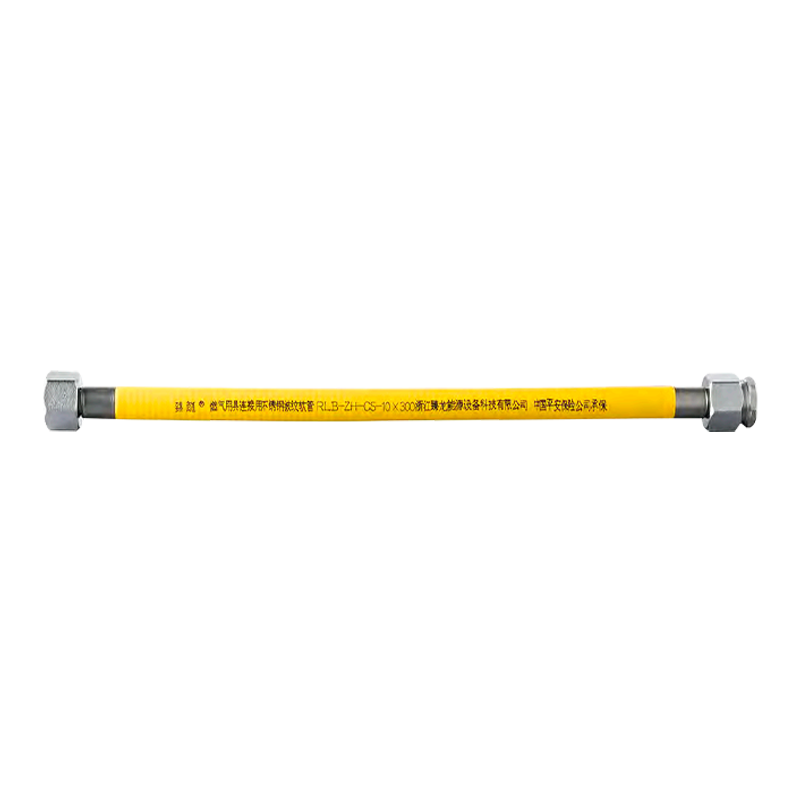
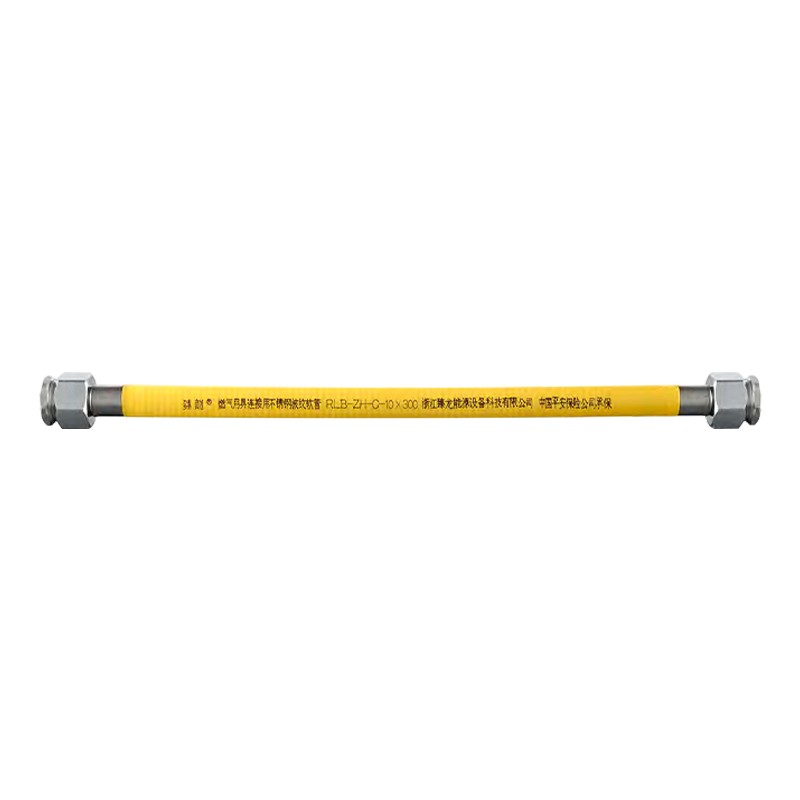
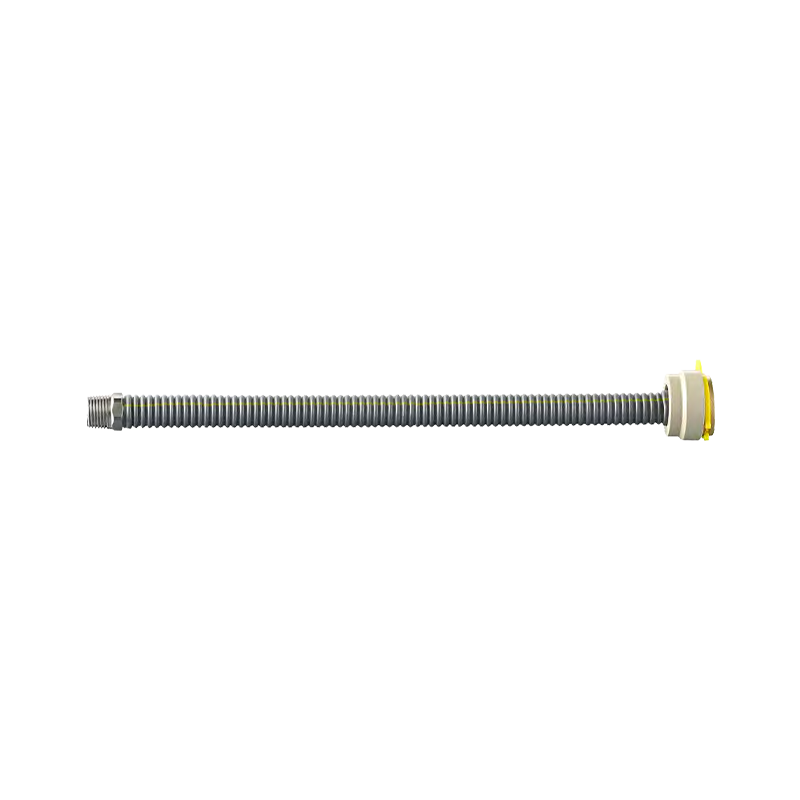
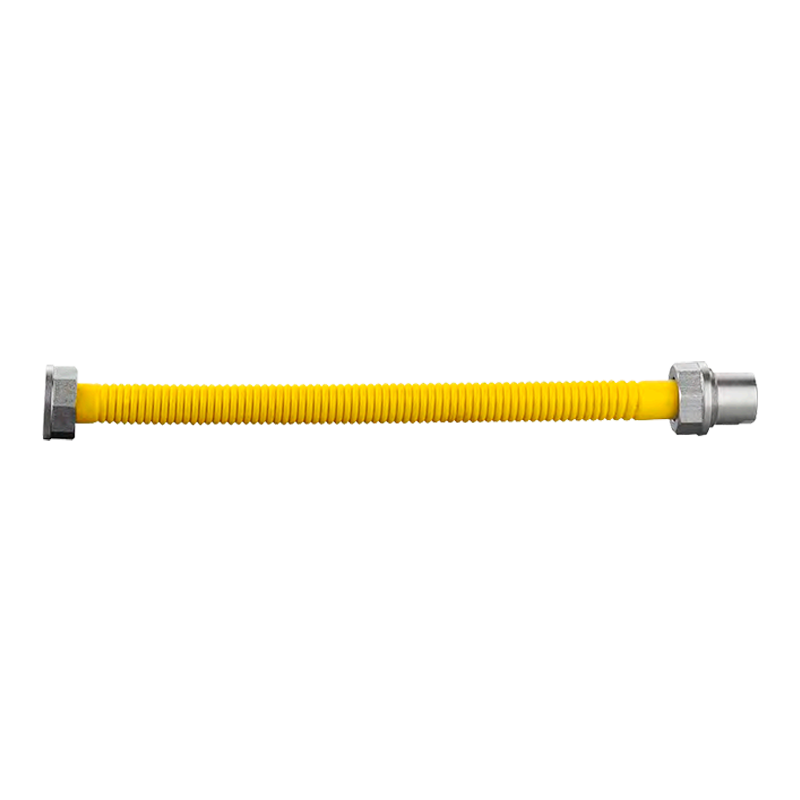
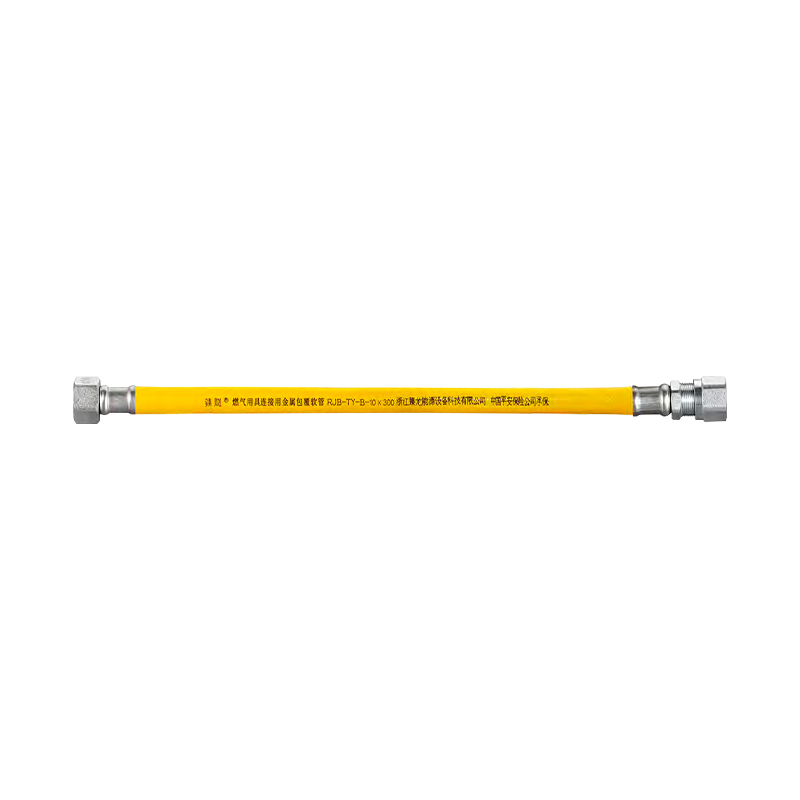
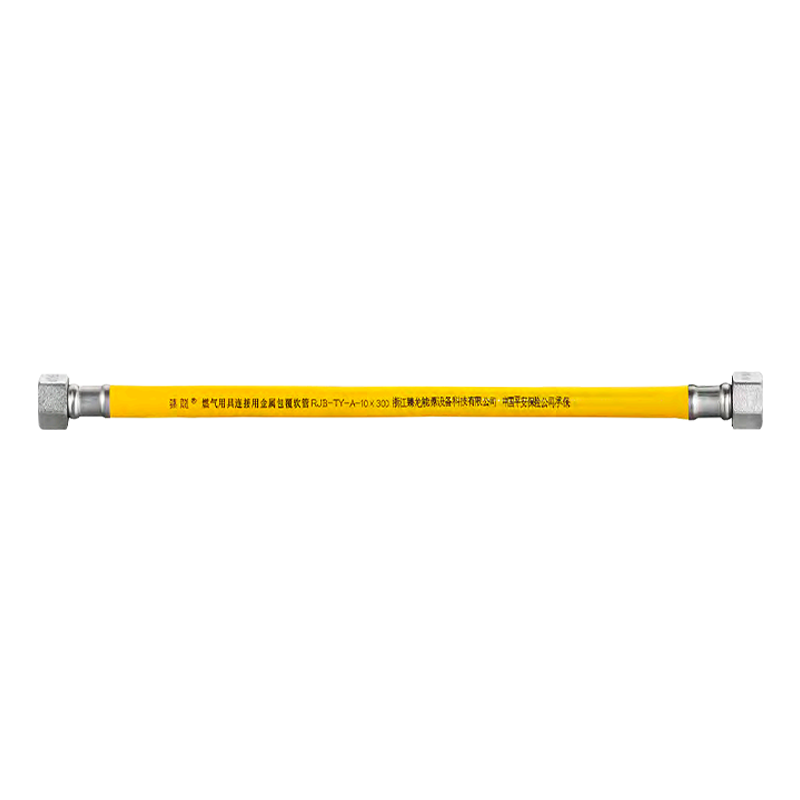
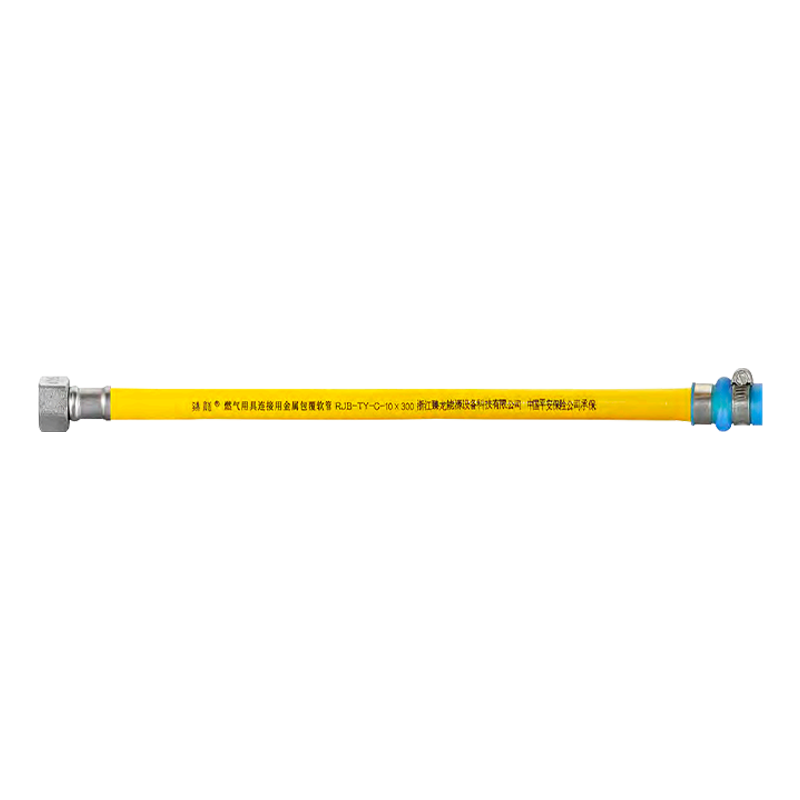
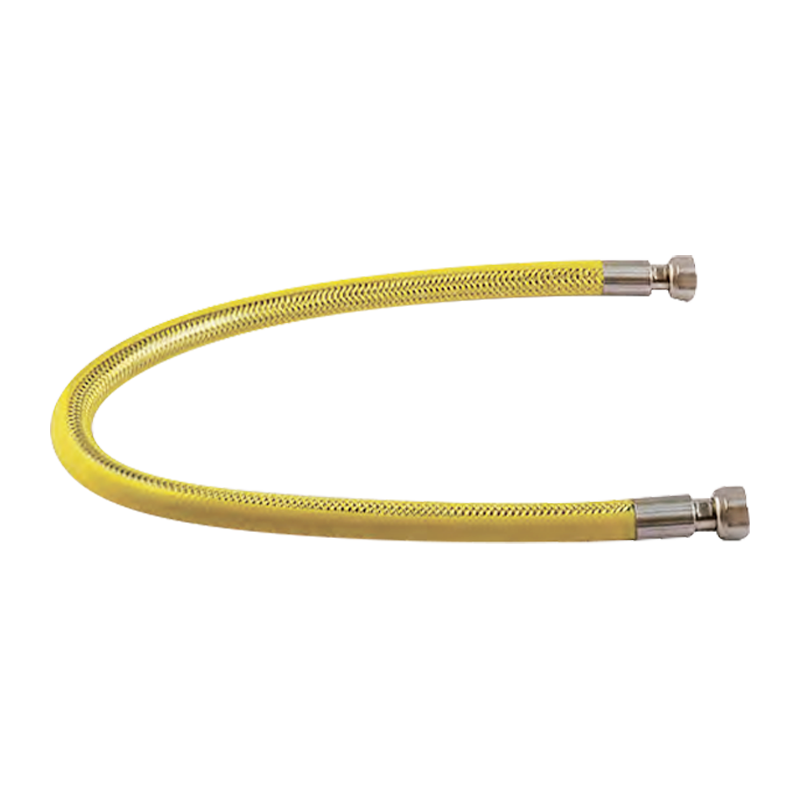
1. Pre-Installation Preparation
Required Tools:
Gas-specific sealing tape (PTFE/raw tape, do not use ordinary electrical tape)
Explosion-proof clamp + screwdriver (Stainless steel double-ring clamps are recommended, as they offer 50% better retention than single-ring clamps)
Soapy water + brush (for leak detection; do not use open flames!)
Gas alarm (for real-time monitoring after installation; models with automatic shut-off are recommended)
Contraindications:
Hose bend radius < 5cm (may cause metal layer fracture)
Near high-temperature sources (must be >30cm from the stove's hot zone)
Installation through a wall/cabinet (must be exposed for easy inspection)
2.3-Step Standard Installation Process
Step 1: Interface Preparation
Degrease the gas valve threads (wipe with a dry cloth, do not use lubricants)
Wrap the sealing tape counterclockwise (5-6 turns, ensuring all threads are covered)
Hose insertion depth must be ≥ 15mm (a "click" sound indicates it is secure)
Step 2: Double-Secure
First, hand-tighten the connection, then tighten it 1/4 turn with a wrench (overtightening may cause thread stripping).
The clamp should be positioned ≤ 2 cm from the connection. The torque should be between 0.8 and 1 N·m (calibrated with a torque screwdriver).
Step 3: Leak Self-Test
Mix dishwashing liquid and water (1:5 ratio) and apply to all connections. Observe for persistent bubbles (small bubbles = minor leak, large bubbles = major leak).
Open the gas valve for 10 minutes and verify with the alarm (concentration > 500 ppm requires rework).
Professional Advice
Quarterly Inspection: Shine a flashlight at the connection to observe for oily seepage (a sign of LPG leakage).
Replacement Period: Even though the metal hose has an 8-year nominal lifespan, it's recommended to replace it every 5 years (due to valve deterioration).
Emergency Measures: If a leak is detected, immediately close the main valve, open a window, evacuate, and call the gas company (do not touch any electrical switches!).
3.Emergency Response Guide for Gas Metal Hose Leaks
Step 1: Immediately implement the "3 Don'ts and 3 Dos" principles.
3 Don'ts (to avoid explosions):
Do not turn on any electrical appliances (including lights and exhaust fans);
Do not unplug the appliance (may generate sparks);
Do not touch metal objects (to prevent static sparks);
3 Dos:
Close the main valve (turn it 90° clockwise to shut off the gas supply);
Open all doors and windows (to create air circulation and reduce gas concentration);
Escape to a safe location outdoors (call the gas company for emergency repairs).
Step 2: Accurately locate the leak.
Self-check method:
Soap and water test method:
Mix dishwashing liquid and water (1:5 ratio) and apply to the hose connector/damaged area.
A persistent cluster of bubbles indicates a leak.
Stethoscope method:
Roll cardboard into a stethoscope shape and hold it close to the hose to listen for a hissing sound (note: LPG leaks may be silent).
Leak type and treatment:
|
Leak Type |
Temporary Solution |
|
Loose connection |
Tighten with an adjustable wrench (do not overtighten) |
|
Crack in pipe body |
Wrap with a damp cloth and temporary tape |
|
Thread stripping |
Do not use! The entire valve must be replaced. |

 English
 中文简体
中文简体 Español
 عربى
عربى


